Hair extensions are defined as strands or wefts of real or synthetic hair attached to your natural hair to add length, volume, or both. Understanding how hair extensions are applied is the foundation of choosing the right method for your hair type, lifestyle, and maintenance tolerance. The five primary hair extension application methods are clip-ins, tape-ins, sew-ins, keratin bonds, and halo extensions. Each technique differs in attachment style, wear duration, and the level of skill required. Getting the method right from the start protects your natural hair and determines how natural the result looks.
What are the main hair extension application methods?
Hair extension installation techniques fall into two broad categories: temporary and semi-permanent. Temporary methods like clip-ins and halos require no adhesive or heat and can be removed daily. Semi-permanent methods like tape-ins, sew-ins, and keratin bonds stay in place for weeks to months and require professional removal.
Here is a side-by-side breakdown of the five core methods:
| Method | Attachment type | Wear duration | DIY-friendly? |
|---|---|---|---|
| Clip-in | Pressure clips on wefts | Daily removal | Yes |
| Tape-in | Adhesive tape sandwich | 6–8 weeks | Possible but tricky |
| Sew-in/weave | Thread sewn onto cornrows | 6–8 weeks | No |
| Keratin bond | Melted keratin per strand | 3–4 months | No |
| Halo | Wire frame over head | Daily removal | Yes |
Clip-in extensions are applied in layers by sectioning the hair horizontally, teasing the roots for grip, and snapping pressure-sensitive clips from the center outward. No heat or adhesive is involved, making this the most accessible do it yourself hair extensions option. The top layer of natural hair covers the clips for a seamless finish.
Tape-in extensions use two adhesive wefts that sandwich a thin slice of natural hair, placed roughly 0.5 to 1 cm below the scalp. Stylists stagger the placements in a brick-laying pattern to keep bonds flat and prevent visible ridges. This method delivers a flat, natural result and is popular for fine to medium hair.
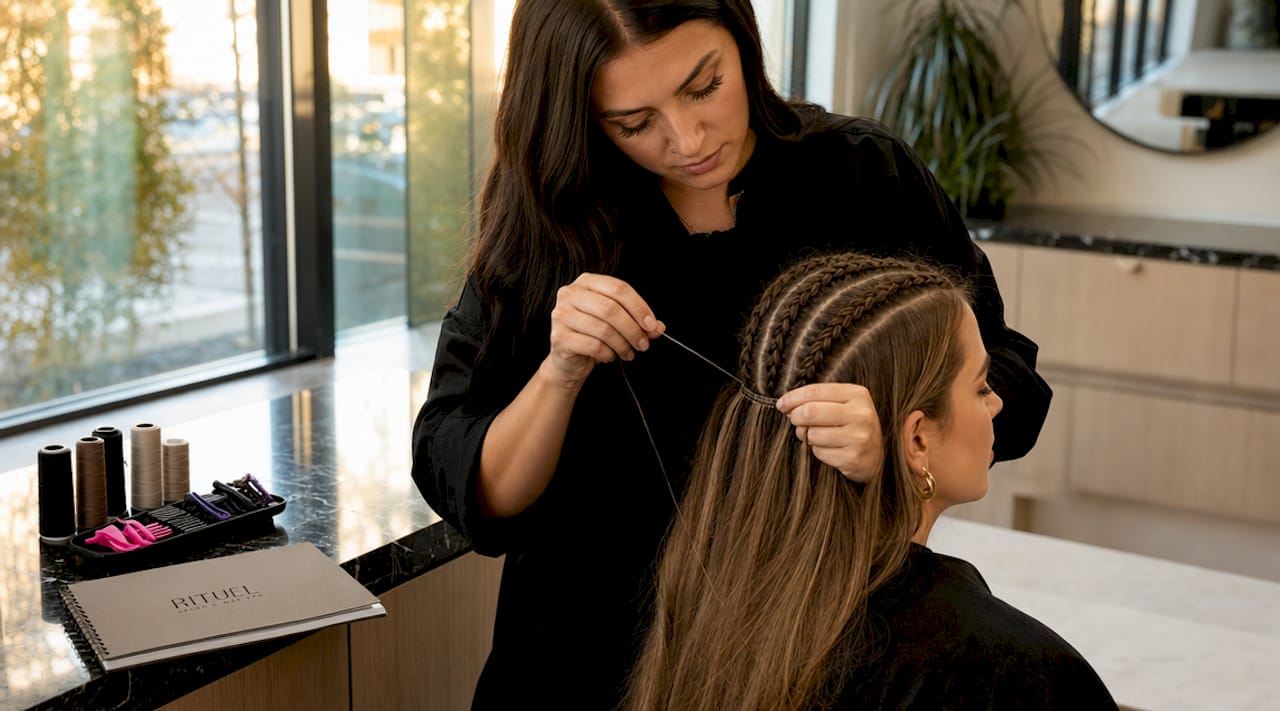
Sew-in extensions involve braiding natural hair into cornrows and sewing wefts onto the braids with a needle and thread. This method is especially well-suited for thicker hair types and requires professional skill to avoid tension on the scalp.
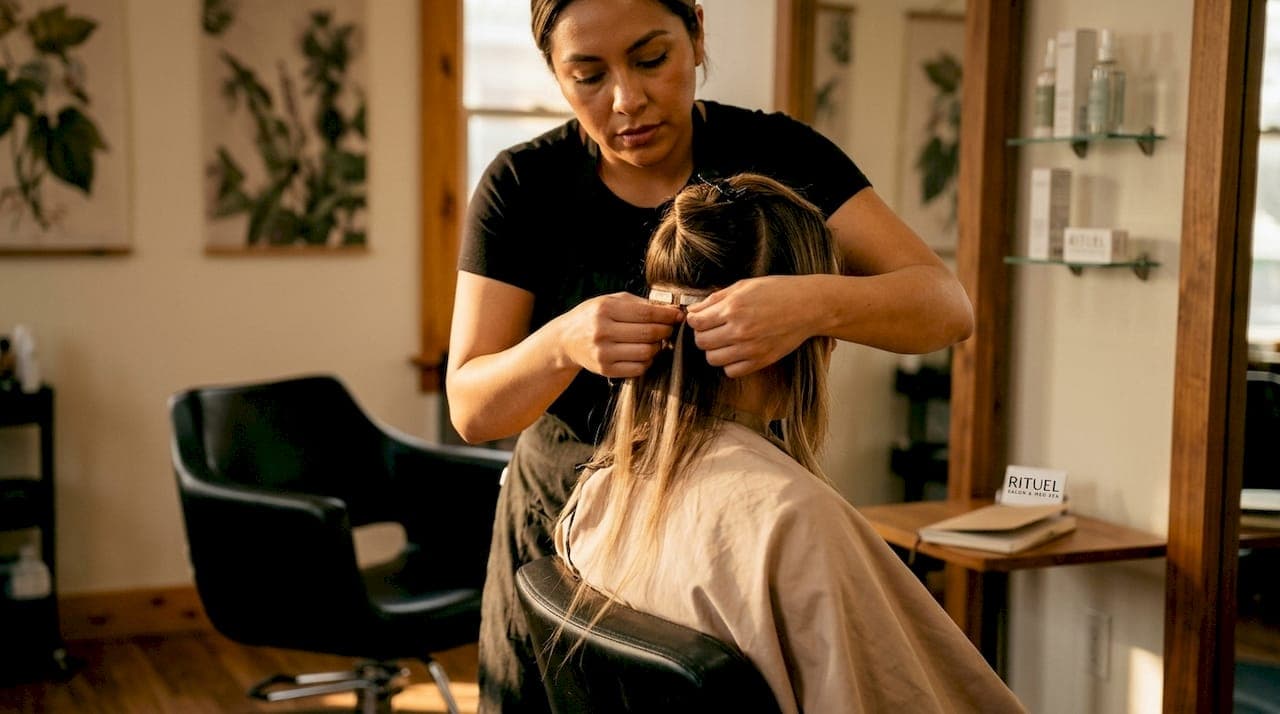
Keratin bond extensions attach individual strands using melted keratin, taking 2 to 4 hours for a full installation and lasting 3 to 4 months. This is the most natural-moving method but demands professional tools and training. Attempting it at home risks heat damage and uneven bonding.
Halo extensions sit on a thin wire frame that rests around the crown of your head, with your natural hair pulled over the wire to conceal it. There is zero attachment to your natural hair, making halos the most damage-free option available.
Pro Tip: If you are new to extensions, start with clip-ins or a halo to learn how extensions feel and blend before committing to a semi-permanent method.
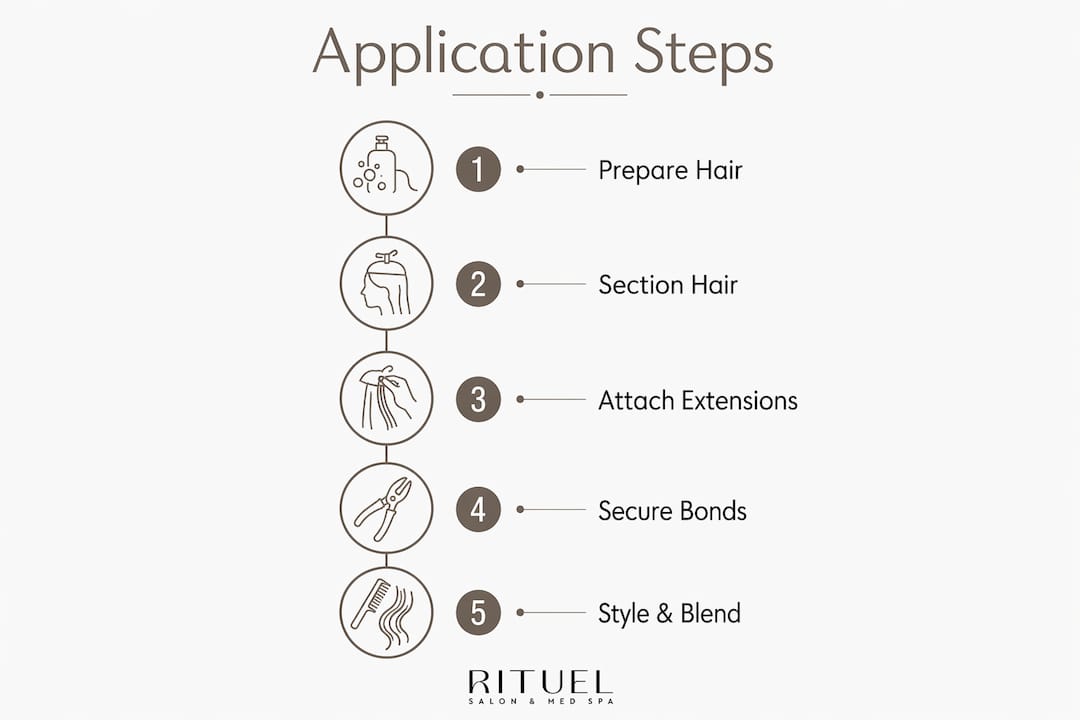
How to prepare your hair before applying extensions
Proper hair preparation is the single most overlooked step in the hair extensions application guide, yet it directly determines how well any method holds and how natural it looks. Skipping preparation leads to slippage, uneven placement, and potential damage.
Follow these steps before any extension application:
- Wash with a clarifying shampoo. Clarifying shampoos remove product buildup, oils, and silicone residue that weaken adhesive bonds and reduce clip grip. Standard moisturizing shampoos leave a coating on the hair shaft that works against most attachment methods.
- Skip conditioner at the roots. Conditioner softens the hair cuticle, which reduces friction. For clip-ins and tape-ins, friction at the root is what keeps extensions in place. Apply conditioner only from mid-length to ends.
- Dry your hair completely. Any moisture at the root weakens tape adhesive and makes clip placement feel unstable. Use a blow dryer on medium heat and finish with a cool shot to close the cuticle.
- Detangle thoroughly. Work through the hair with a wide-tooth comb from ends to roots before sectioning. Tangles create uneven sections, which leads to uneven extension placement.
- Gather your tools. You will need a rat-tail comb for clean sectioning, sectioning clips to hold hair out of the way, a paddle brush for blending, and a flat iron if you are applying tape-ins.
Pro Tip: Avoid applying any dry shampoo, texturizing spray, or heat protectant near the roots on the day of application. These products coat the hair shaft and reduce adhesion for tape-ins or clip grip for clip-ins.
Step-by-step application for clip-in and tape-in extensions
Clip-in application
Clip-ins are the best way to attach hair extensions at home without professional help. The process takes 10 to 20 minutes once you know the steps.
- Section the hair horizontally about 1 inch above the nape of the neck. Clip the top section out of the way.
- Lightly tease the roots along the parting line. Teasing increases clip grip and prevents the weft from sliding down throughout the day.
- Open the clips on the weft, position the center clip at the middle of the parting, and snap it shut. Then snap the side clips from center outward.
- Release the next section of hair, about 1 to 1.5 inches above the first row, and repeat the process with a narrower weft.
- Continue layering rows upward, using smaller wefts near the crown. Release the top layer of natural hair to cover all clips.
- Blend by running a paddle brush through the full length of your hair and extensions together.
Tape-in application
Tape-ins require more precision. Proper sectioning and choosing the right thickness of natural hair between each tape sandwich is critical. Too thick or uneven sections weaken adhesion and create an uneven finish.
- Section a thin, even slice of natural hair (roughly 2 to 3 mm thick) from a horizontal parting.
- Place one tape weft adhesive-side up beneath the section, positioned 0.5 to 1 cm from the scalp.
- Lay the natural hair flat onto the adhesive strip.
- Press the second tape weft adhesive-side down on top, sandwiching the natural hair between both strips.
- Press firmly with your fingers for 10 seconds, then apply a flat iron at approximately 120°C for 2 to 3 seconds to activate the adhesive. Keep the iron moving to avoid overheating.
- Stagger the next row in a brick-laying pattern, offset from the row below, to prevent ridges.
- Wait 48 to 72 hours before washing. Washing too soon weakens the bond before it has fully cured.
How do sew-in, keratin bond, and halo extensions get applied?
These three methods cover the range from fully professional to completely tool-free, and each suits a different hair profile.
Sew-in extensions begin with the stylist braiding your natural hair flat against the scalp in cornrow patterns. The pattern depends on the desired final look. Extension wefts are then sewn onto the braids using a curved needle and thread, row by row. The process takes 2 to 4 hours and the result lasts 6 to 8 weeks. Sew-ins work best on medium to thick hair because the braided base needs enough density to hold the weight of the wefts without pulling on the scalp.
Keratin bond extensions are the most labor-intensive installation. A stylist separates your natural hair into individual strands and fuses a small keratin-tipped extension strand to each one using a heat tool that melts the keratin. The bond hardens around the natural strand as it cools, creating a secure attachment. A full head install takes 2 to 4 hours and the bonds last 3 to 4 months with proper care. The result is the most natural movement of any method because each strand moves independently.
Halo extensions require no tools at all. The weft is attached to a thin, nearly invisible wire. You place the wire over your head like a headband, position it just behind the hairline, then pull your natural hair over the wire to hide it. The entire process takes under two minutes. Halos are ideal for special occasions, travel, or anyone who wants volume without any commitment or risk to their natural hair.
- Sew-ins: best for thick or coarse hair, 6 to 8 weeks wear
- Keratin bonds: best for fine to medium hair wanting long-term length, 3 to 4 months wear
- Halos: best for any hair type wanting instant, damage-free volume
Pro Tip: For keratin bonds, ask your stylist to place bonds slightly lower on the strand rather than too close to the scalp. This reduces tension on the follicle and makes the bonds less visible when your hair moves.
What are the best maintenance practices after applying extensions?
Extensions last longer and look better when you treat them as an extension of your own hair care routine, with a few specific adjustments.
- Brush gently and often. Use a loop brush or a soft-bristle paddle brush, starting from the ends and working upward. Brushing from the root down pulls on bonds and causes premature slippage.
- Use sulfate-free shampoo. Sulfates break down adhesive bonds in tape-ins and keratin extensions faster than normal wear. A sulfate-free formula cleans effectively without degrading the attachment.
- Keep oils and silicone away from roots. Hair oils and silicone-based serums feel luxurious but coat the bond area, loosening adhesion over time. Apply these products only from mid-shaft to ends.
- Reposition tape-ins on schedule. Tape-ins need repositioning every 6 to 8 weeks as your natural hair grows. Leaving them longer causes the bond to sit too far from the scalp, creating visible gaps and increased tension.
- Sleep with a loose braid or silk bonnet. Friction from cotton pillowcases causes tangling at the bond points overnight. A silk or satin pillowcase, or a loose braid, reduces this significantly.
- Watch for warning signs. Trichologists advise that persistent scalp pain, visible thinning at the bond points, or itching are signals to remove extensions immediately and assess hair health.
Pro Tip: A sulfate-free shampoo formulated to reduce follicle stress is worth using throughout your extension wear, not just on wash days. It protects both your natural hair and the bonds.
Key takeaways
The best hair extension method is the one matched to your hair type, lifestyle, and maintenance commitment, not the most popular or most expensive option.
| Point | Details |
|---|---|
| Method determines wear time | Clip-ins and halos are daily-wear; tape-ins and sew-ins last 6 to 8 weeks; keratin bonds last 3 to 4 months. |
| Preparation drives results | Clarifying shampoo, dry hair, and oil-free roots are non-negotiable before any application method. |
| Placement precision matters | Staggered brick-laying patterns for tape-ins and correct section thickness prevent visible ridges and weak bonds. |
| Maintenance protects investment | Sulfate-free products, gentle brushing, and scheduled repositioning extend wear and protect natural hair. |
| Professional methods need professional hands | Keratin bonds and sew-ins require trained stylists to avoid follicle stress and uneven results. |
What I have learned from watching extensions go wrong
Extension specialist Lara Filewood is right that there is no universal method. After years of working with clients at Rituel Salon & Med Spa, the pattern I see most often is women choosing a method based on what they saw on social media rather than what suits their actual hair density and daily routine.
The most common mistake is over-installing. More pieces do not automatically mean a better result. Fewer, strategically placed wefts consistently produce a more natural look than a full head of heavy extensions that pull the scalp forward and create an obvious line of demarcation.
Fine hair clients especially need to hear this: weight is your enemy. A lighter install with tape-ins or a halo will always look better and feel better than a full keratin bond set that strains thin strands. The goal is to add to what you have, not overwhelm it. A professional consultation before your first install is not a sales step. It is the difference between extensions that look like your hair and extensions that look like extensions.
— Victor
Get expert extensions at Rituel Salon in Phoenix

At Rituel Salon & Med Spa in Phoenix, the extensions team specializes in tape-in and hand-tied extensions with professional color matching to create a finish that blends seamlessly with your natural hair. Whether you want added length, volume, or both, the consultation process starts with your hair type and lifestyle, not a one-size-fits-all package. The team at Rituel's full-service hair salon also offers balayage and color services to match your extensions perfectly to your base shade. Book a consultation at 4700 N 12th St, Suite 211 in Phoenix to find the method that works for you.
FAQ
How long does it take to apply hair extensions?
Clip-ins and halos take 10 to 20 minutes. Tape-in applications take 1 to 2 hours, while sew-ins and keratin bonds require 2 to 4 hours with a professional stylist.
Can you apply tape-in extensions yourself at home?
Tape-ins are possible to apply at home with the right tools, but precise sectioning and correct heat sealing at 120°C for 2 to 3 seconds are critical. Uneven sections or too much heat weaken the bond and create visible ridges.
How often do tape-in extensions need to be repositioned?
Tape-in extensions require repositioning every 6 to 8 weeks. Leaving them longer causes the bond to sit too far from the scalp as your natural hair grows, increasing tension and the risk of damage.
Which hair extension method causes the least damage?
Halo extensions cause zero damage because they attach to a wire frame with no contact with your natural hair. Clip-ins are the next least damaging option when removed nightly and applied correctly.
Do hair extensions work on fine or thin hair?
Yes, but method selection matters. Tape-ins and halos are the preferred options for fine hair because they distribute weight across a wider surface area. Keratin bonds and sew-ins add concentrated weight that can stress fine strands and follicles.